Asterisk là giải pháp điện thoại nguồn mở dành cho cá nhân, doanh nghiệp. Nó chạy qua Internet thay vì đường dây điện thoại đồng và được sử dụng cho thư thoại, ghi âm cuộc gọi, phản hồi bằng giọng nói tương tác và gọi hội nghị.
FreePBX là một ứng dụng dựa trên web, mã nguồn mở, miễn phí, quản lý Asterisk thông qua trình duyệt. Nó cung cấp tất cả các thành phần cần thiết để xây dựng một hệ thống điện thoại. Với FreePBX, bạn có thể tạo tiện ích mở rộng, IVR, đặt quyền người dùng, tường lửa, sao lưu và khôi phục, v.v.
Hướng dẫn này sẽ chỉ cho các bạn cách cài đặt Asterisk và FreePBX trên Ubuntu. Quy trình này tương thích với Ubuntu 20.04 và Ubuntu 22.04.
Step 1 – Install Required Dependencies
apt-get update –y
apt-get install unzip git sox gnupg2 curl libnewt-dev libssl-dev libncurses5-dev subversion libsqlite3-dev build-essential libjansson-dev
libxml2-dev libedit-dev uuid-dev subversion -y
Step 2 – Install Asterisk
wget <a href="http://downloads.asterisk.org/pub/telephony/asterisk/asterisk-20-current.tar.gz">http://downloads.asterisk.org/pub/telephony/asterisk/asterisk-20-current.tar.gz</a>
<span lang="vi">tar -xvzf asterisk-20-current.tar.gz
cd asterisk-20*
contrib/scripts/get_mp3_source.sh
contrib/scripts/install_prereq install
./configure
make menuselect
</span><span lang="vi">
<img class="aligncenter" src="https://wiki.nhanhoa.com/wp-content/uploads/2024/02/hinh1.jpg" alt="" width="1627" height="917" /></span>
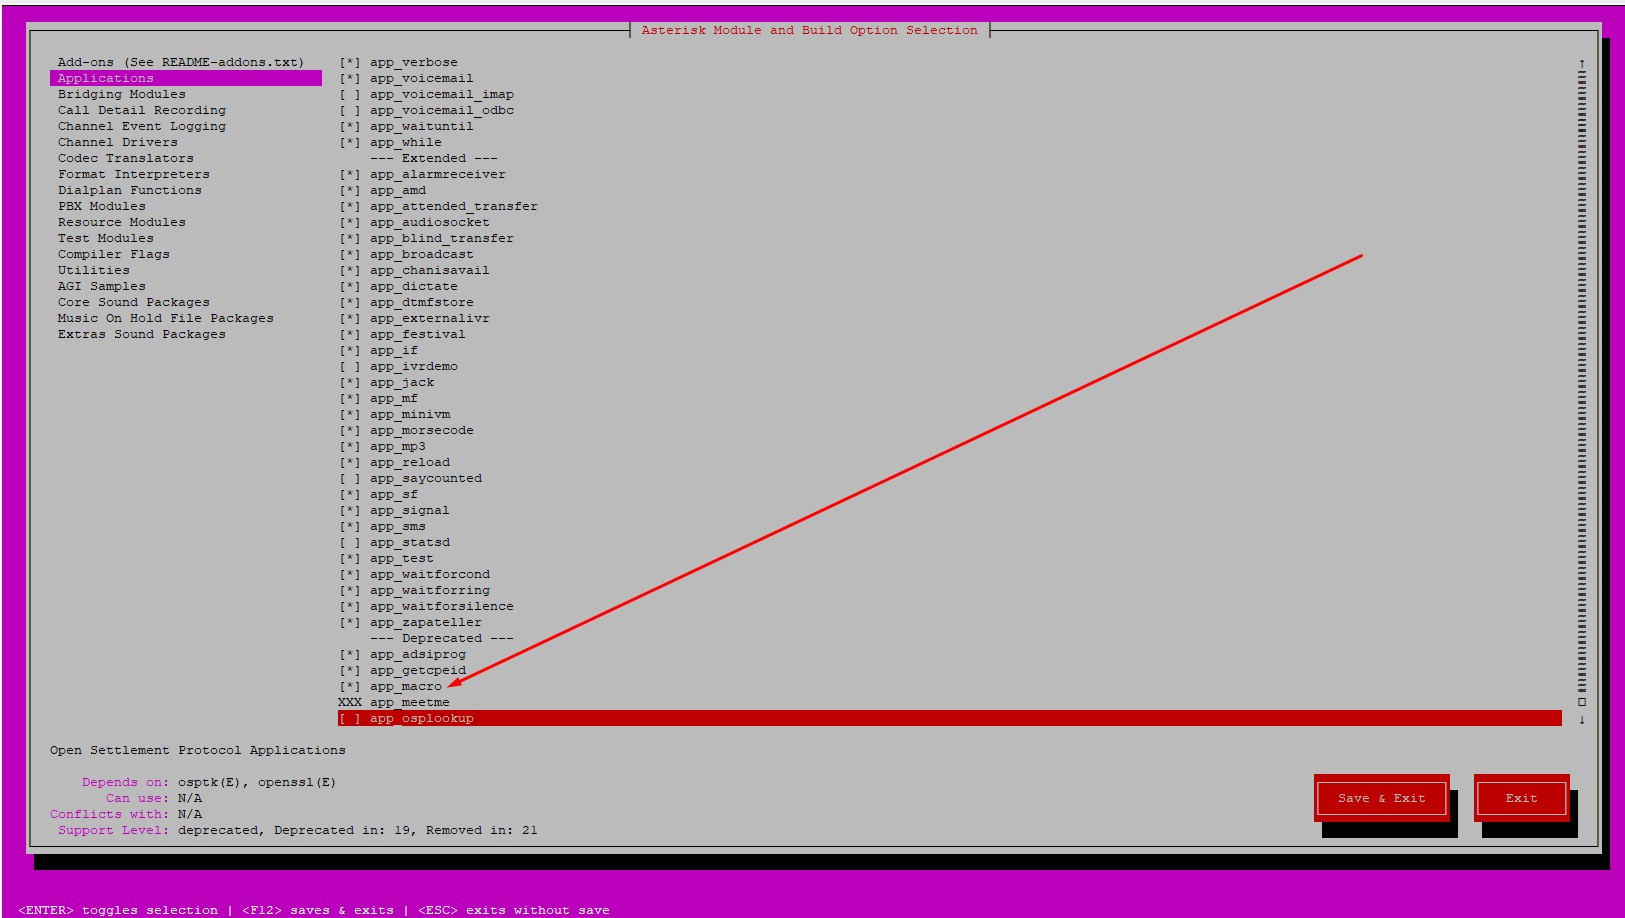
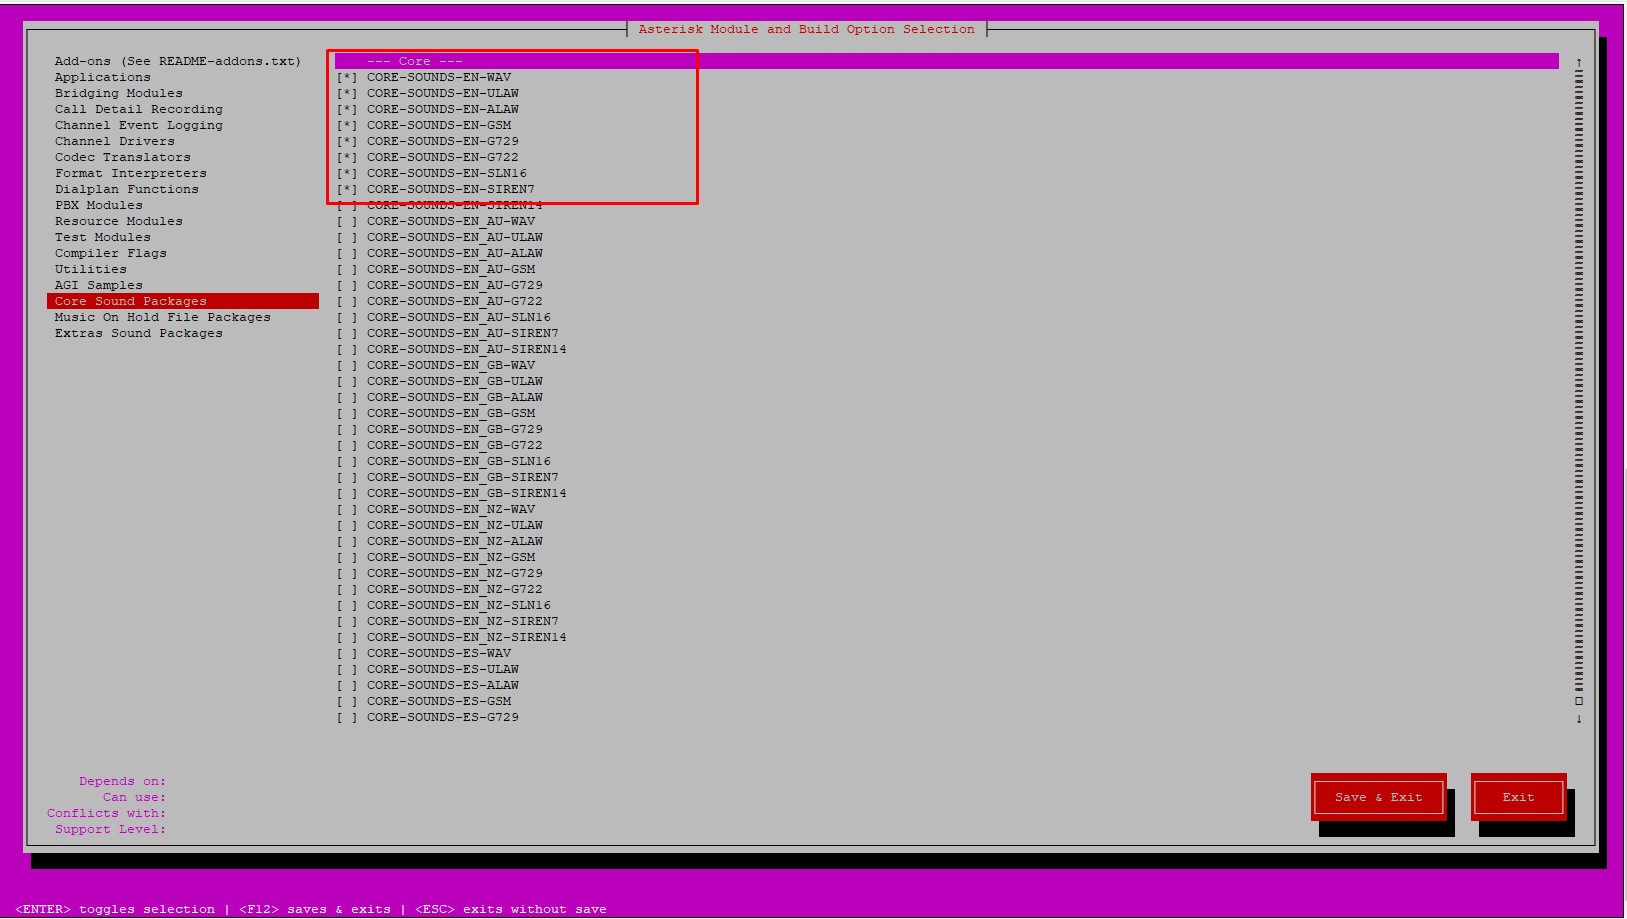
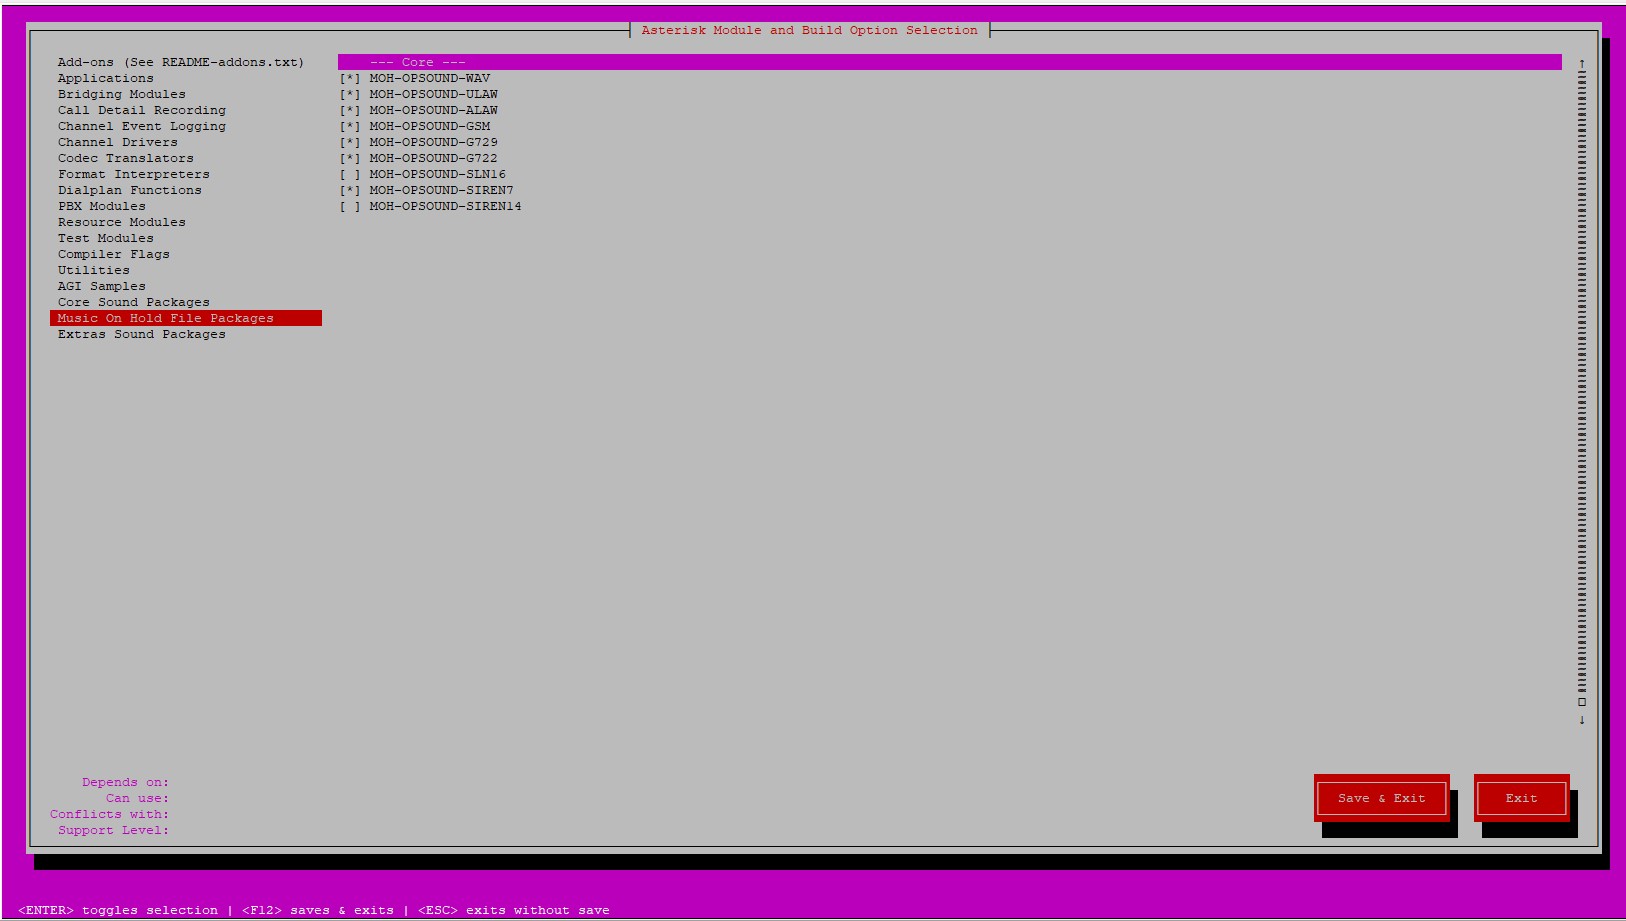
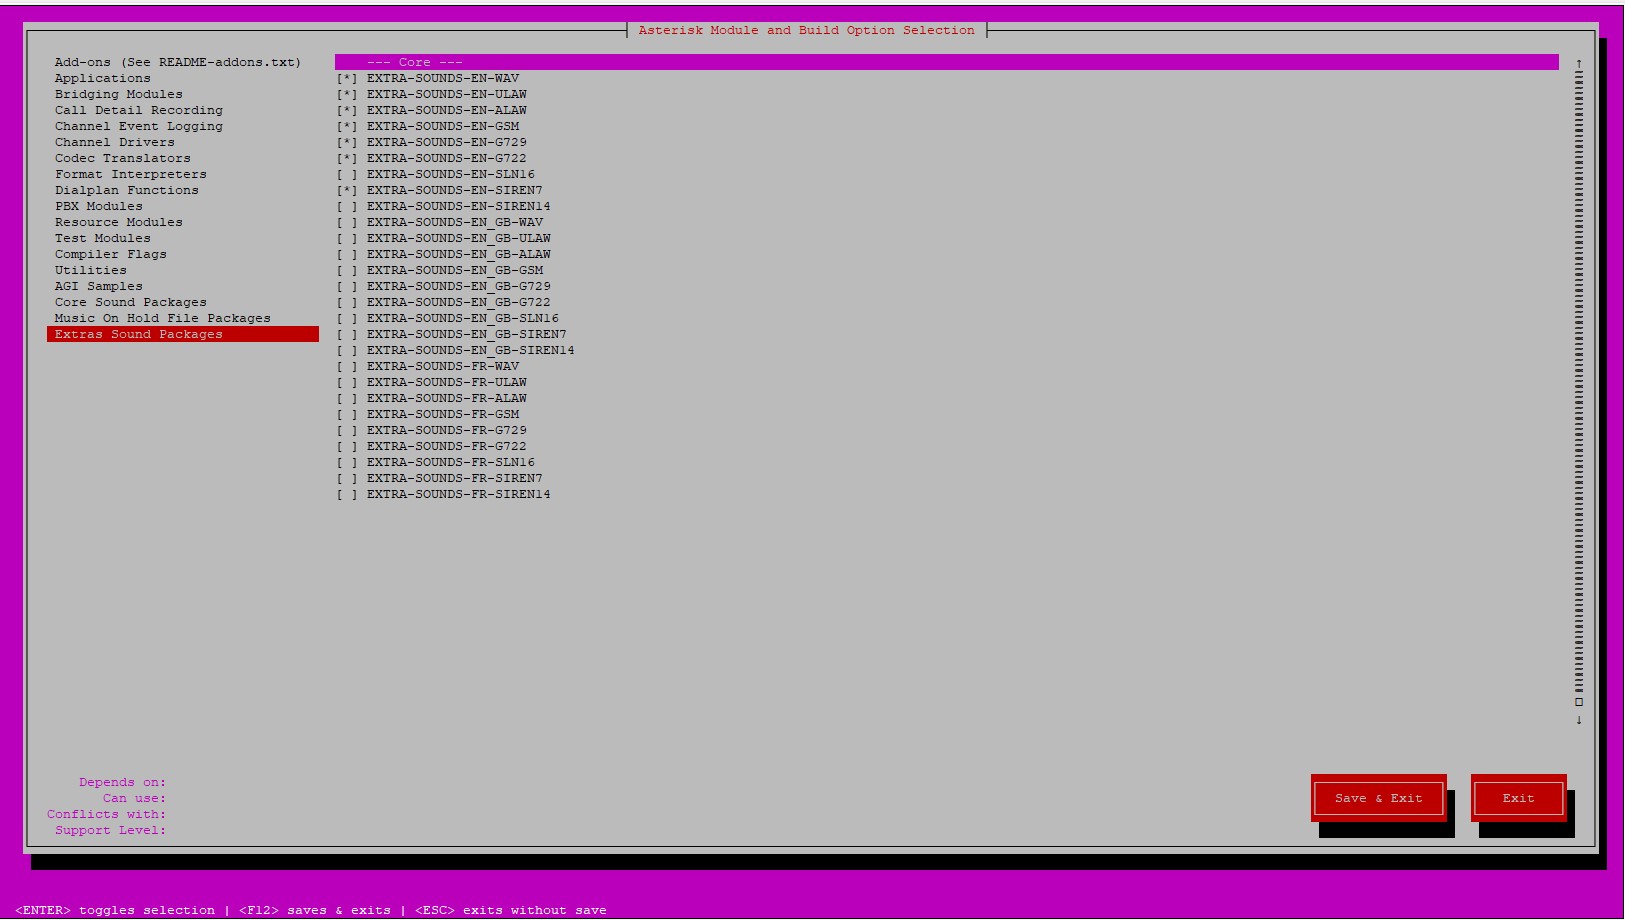 Tiếp tục cài đặt với command sau
make -j2
make install
make samples
make config
ldconfig
Step 3 – Configure Asteriskgroupadd asteriskuseradd -r -d /var/lib/asterisk -g asterisk asteriskPhân Quyền với command sauchown -R asterisk.asterisk /etc/asteriskchown -R asterisk.asterisk /var/{lib,log,spool}/asteriskchown -R asterisk.asterisk/usr/lib/asterisk Cấu hình lại file config của asterisknano /etc/default/asterisk
AST_USER="asterisk"
AST_GROUP="asterisk"
nano /etc/asterisk/asterisk.confrunuser = asterisk ; The user to run as rungroup = asterisk ; The group to run as. Khởi động lại service asterisksystemctl restart asterisksystemctl enable asteriskNếu gặp lỗi như dưới đây sau khi khởi động lại
radcli: rc_read_config: rc_read_config: can't open /etc/radiusclient-ng/radiusclient.conf: No suchfile or directoryThì Fix bằng command dưới đâysed -i 's";\[radius\]"\[radius\]"g' /etc/asterisk/cdr.confsed -i 's";radiuscfg => /usr/local/etc/radiusclient-ng/radiusclient.conf"radiuscfg => /etc/radcli/radiusclient.conf"g' /etc/asterisk/cdr.confsed -i 's";radiuscfg => /usr/local/etc/radiusclient-ng/radiusclient.conf"radiuscfg => /etc/radcli/radiusclient.conf"g' /etc/asterisk/cel.conf systemctl start asterisk asterisk -rvvStatus hiển thị như dưới đây là okAsterisk 20.4.0, Copyright (C) 1999 - 2022, Sangoma Technologies Corporation and others.Created by Mark Spencer <markster@digium.com>Asterisk comes with ABSOLUTELY NO WARRANTY; type 'core show warranty' for details.This is free software, with components licensed under the GNU General PublicLicense version 2 and other licenses; you are welcome to redistribute it undercertain conditions. Type 'core show license' for details.=========================================================================Running as user 'asterisk'Running under group 'asterisk'Connected to Asterisk 20.4.0 currently running on ubuntu2004 (pid = 89531)
ExitStep 4 – Install FreePBX
apt install software-properties-commonadd-apt-repository ppa:ondrej/php -y
apt install apache2 mariadb-server libapache2-mod-php7.4 php7.4 php-pear php7.4-cgi php7.4-common
php7.4-curl php7.4-mbstring php7.4-gd php7.4-mysql php7.4-bcmath php7.4-zip php7.4-xml php7.4-imap php7.4-json php7.4-snmp
download gói cài đặt freepbx
wget http://mirror.freepbx.org/modules/packages/freepbx/freepbx-16.0-latest.tgz
tar -xvzf freepbx-16.0-latest.tgzcd freepbxapt-get install nodejs npm -yservice mysql start./install -nSetting specific permissions...30690 [============================]Finished setting permissionsGenerating default configurations...Finished generating default configurationsYou have successfully installed FreePBX
fwconsole ma install pm2sed -i 's/^\(User\|Group\).*/\1 asterisk/' /etc/apache2/apache2.confsed -i 's/AllowOverride None/AllowOverride All/' /etc/apache2/apache2.confsed -i 's/\(^upload_max_filesize = \).*/\120M/' /etc/php/7.4/apache2/php.inised -i 's/\(^upload_max_filesize = \).*/\120M/' /etc/php/7.4/cli/php.ini a2enmod rewritesystemctl restart apache2
Truy cập vào web bằng URL http://your-server-ip/admin.
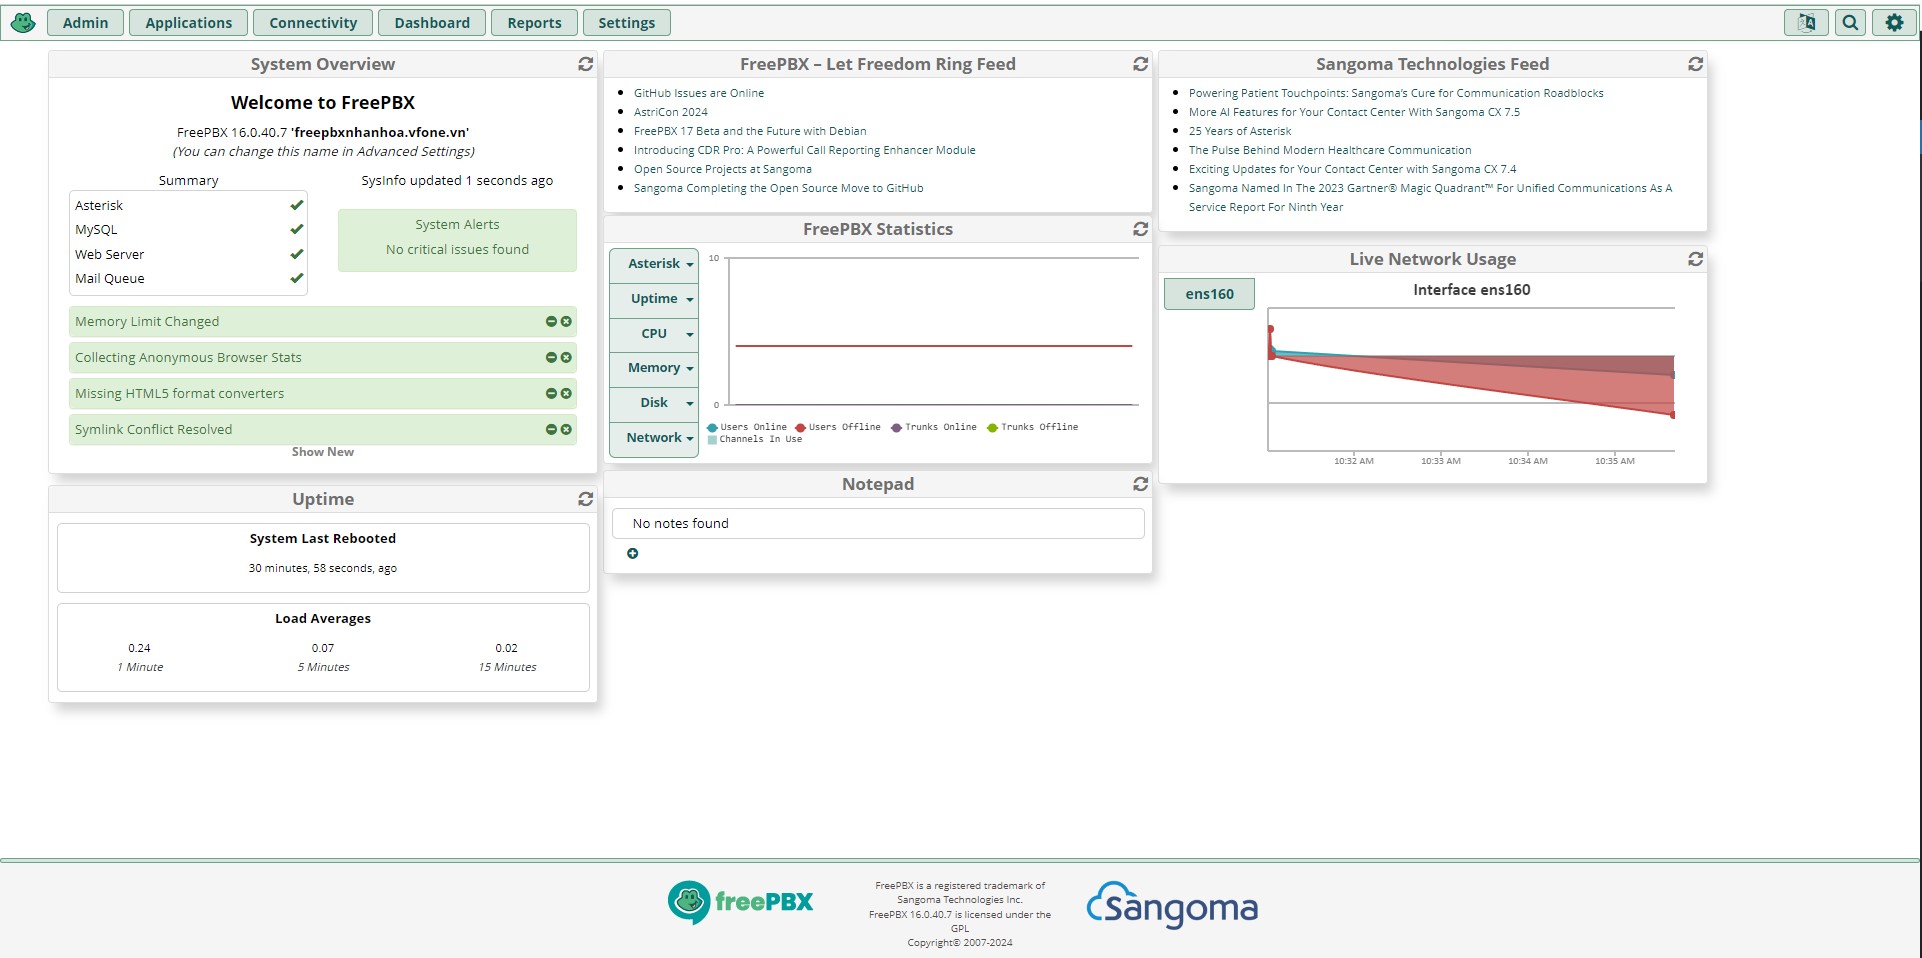 Tới đây đã cài đặt xong tổng đài freepbx
Chúc các bạn thành công !
Tới đây đã cài đặt xong tổng đài freepbx
Chúc các bạn thành công !