Tiếp tục config cho bài viết Cấu hình load balancing wordpress – nginx với HaProxy
Chuẩn bị:
- VPS1 (103.124.92.123): chạy MySQL.
- VPS2 (103.159.50.124): chạy Nginx và source WordPress 1.
- VPS3 (103.124.94.2): chạy Nginx và Source WordPress 2.
- VPS4 (103.170.123.17): chạy HAproxy làm Load balancing.
Thao tác trên VPS4
Để config SSL cho tên miền đại diện trên Haproxy ta có thể thêm config sau vào file /etc/haproxy/haproxy.cfg
global
log /dev/log local0
log /dev/log local1 notice
chroot /var/lib/haproxy
stats timeout 30s
user haproxy
group haproxy
daemon
tune.ssl.default-dh-param 2048
defaults
log global
mode http
option httplog
option dontlognull
timeout connect 5000
timeout client 50000
timeout server 50000
frontend http_front
bind *:80
stats uri /haproxy?stats
redirect scheme https code 301 if !{ ssl_fc }
default_backend http_back
frontend https_front
bind *:443 ssl crt /etc/haproxy/certs/hirontrailer.pem
option http-server-close
option forwardfor except 127.0.0.1
default_backend http_back
backend http_back
balance roundrobin
mode http
option httpchk GET /
server wp1 103.159.50.124:80 check
server wp2 103.124.94.2:80 check
:wq! để lưu lại config.
Sau đó thêm file certificate.crt và private.key vào file /etc/haproxy/certs/hirontrailer.pem ta upload 2 file này vào 1 thự mục trên VPS chứa Haproxy rồi dùng lệnh sau để gán nội dung vào file.
cat certificate.crt private.key > /etc/haproxy/certs/hirontrailer.pem
Restart service haproxy để apply config.
systemctl restart haproxy
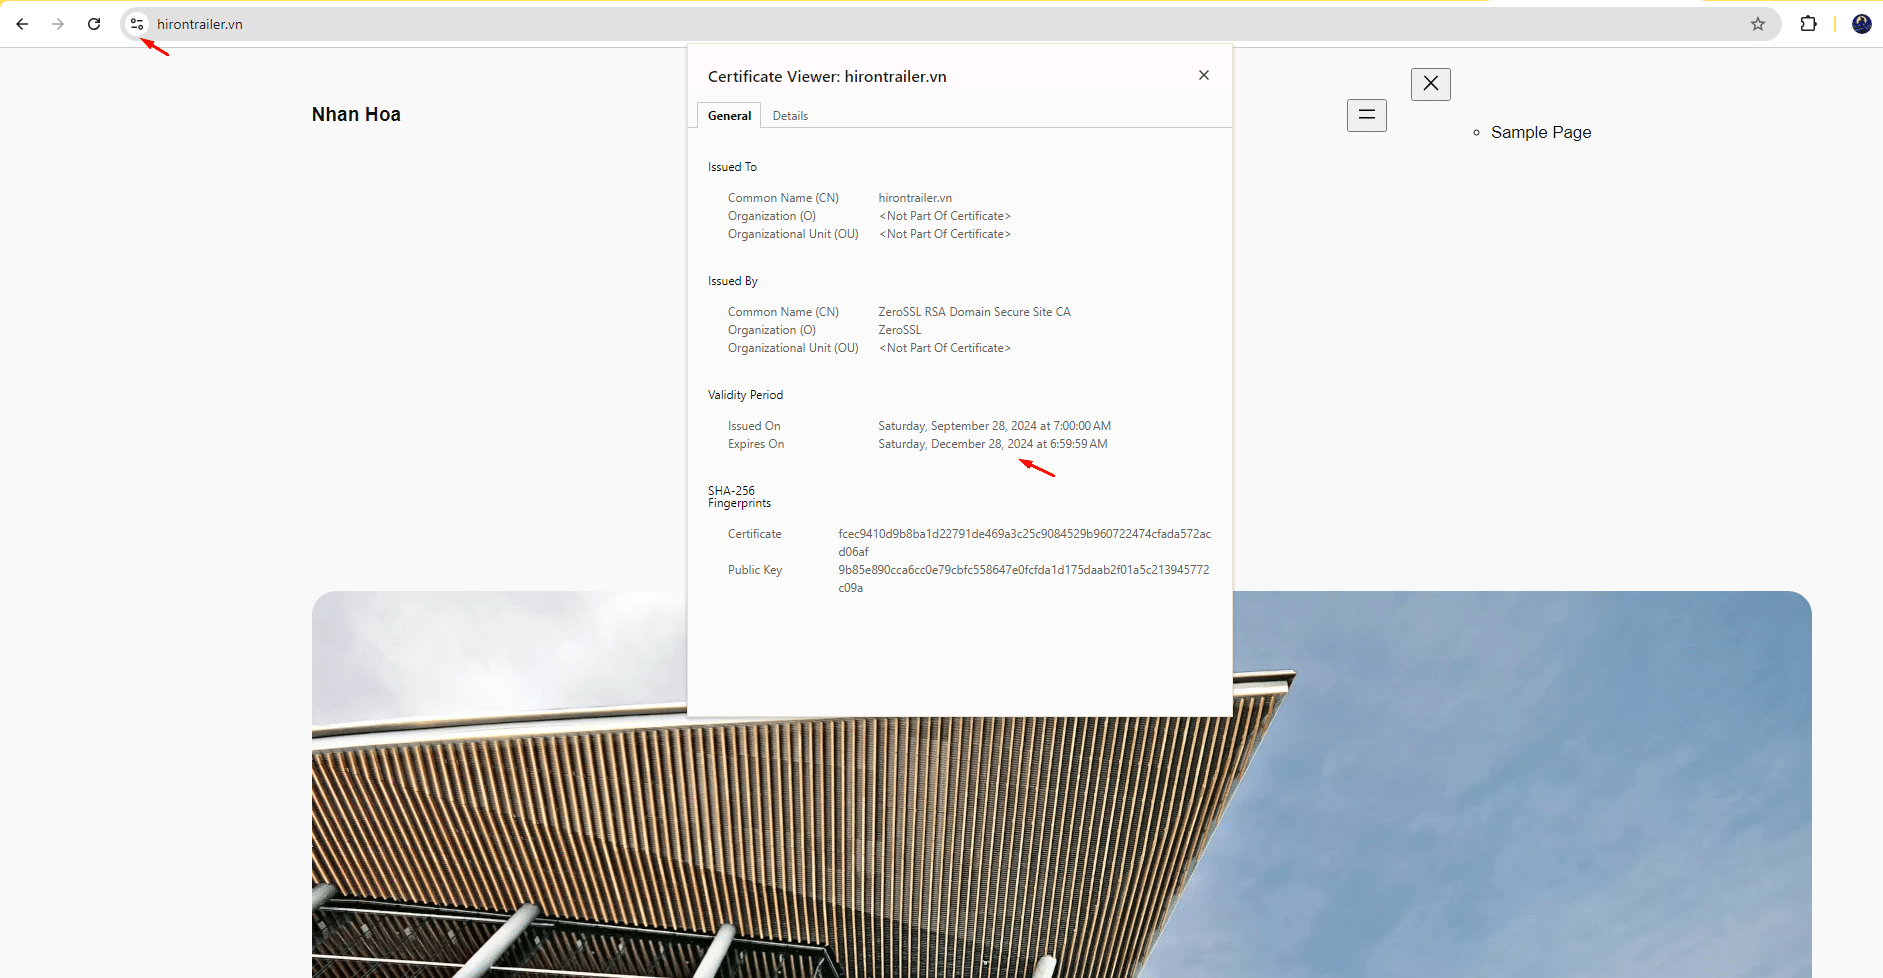
Kết quả: